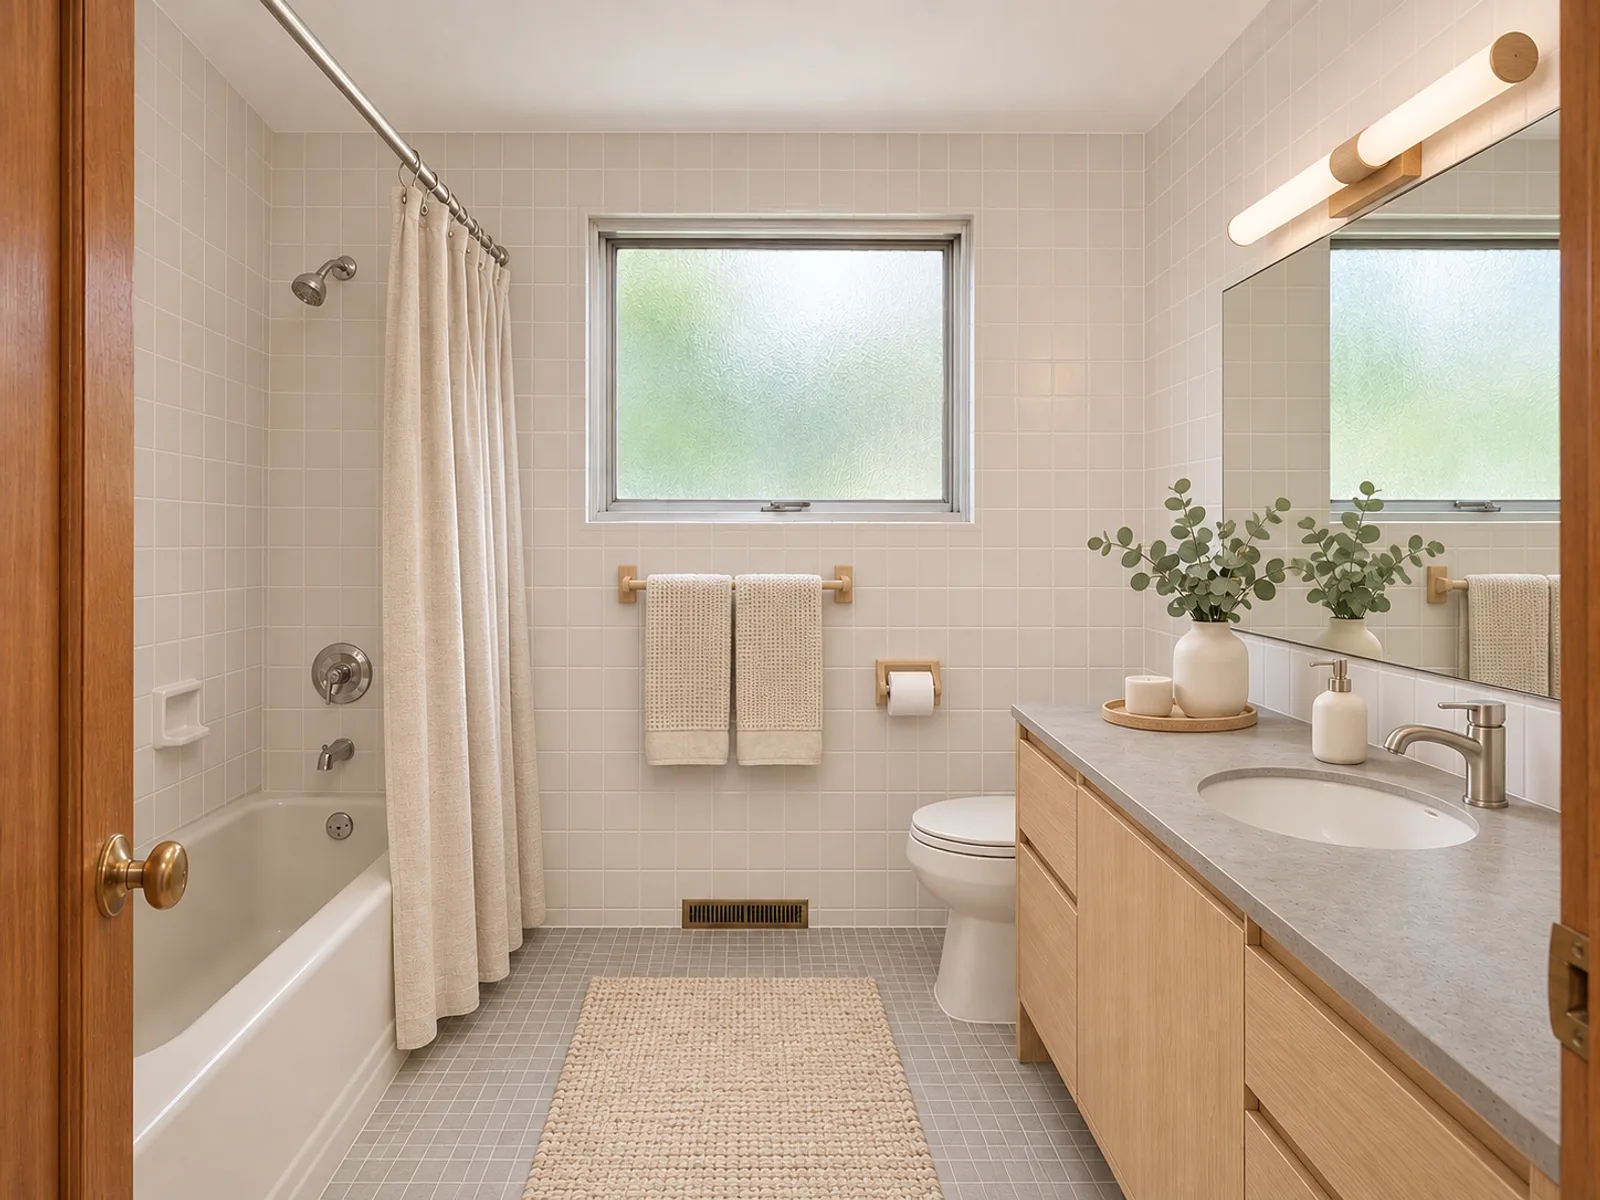
AI bathroom design that works around your plumbing
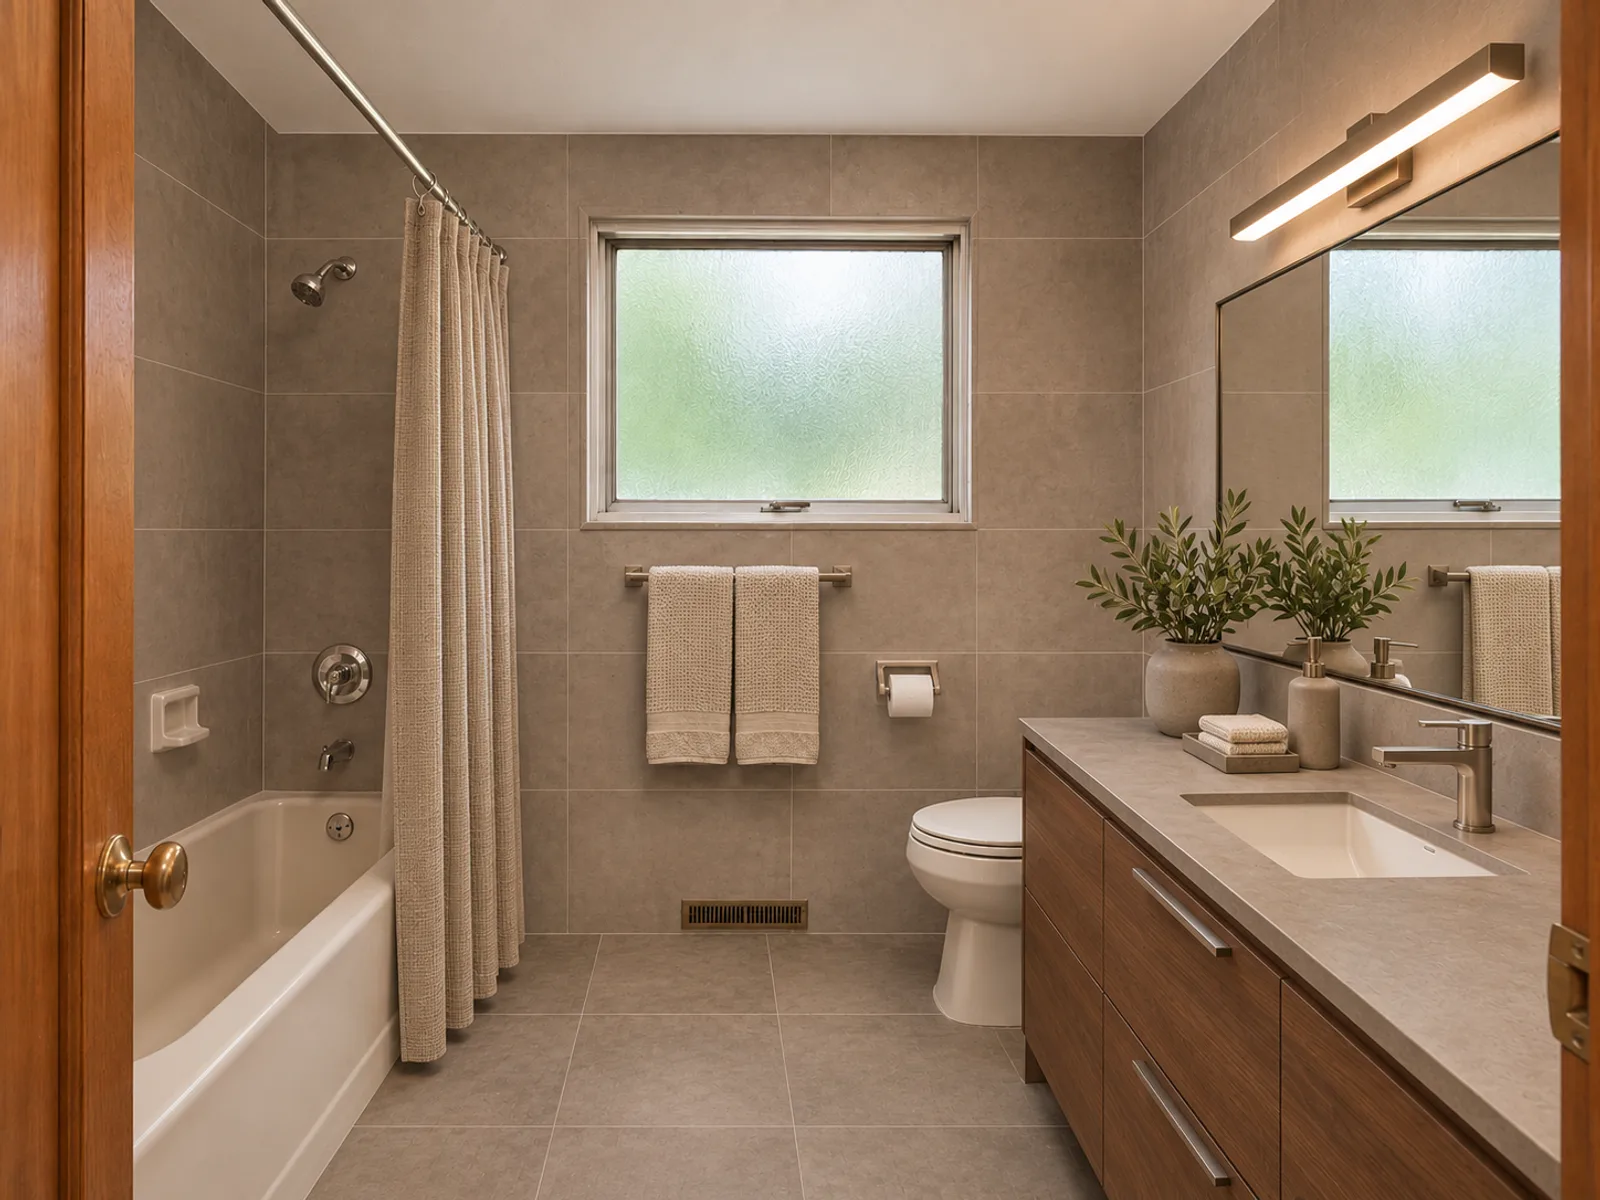
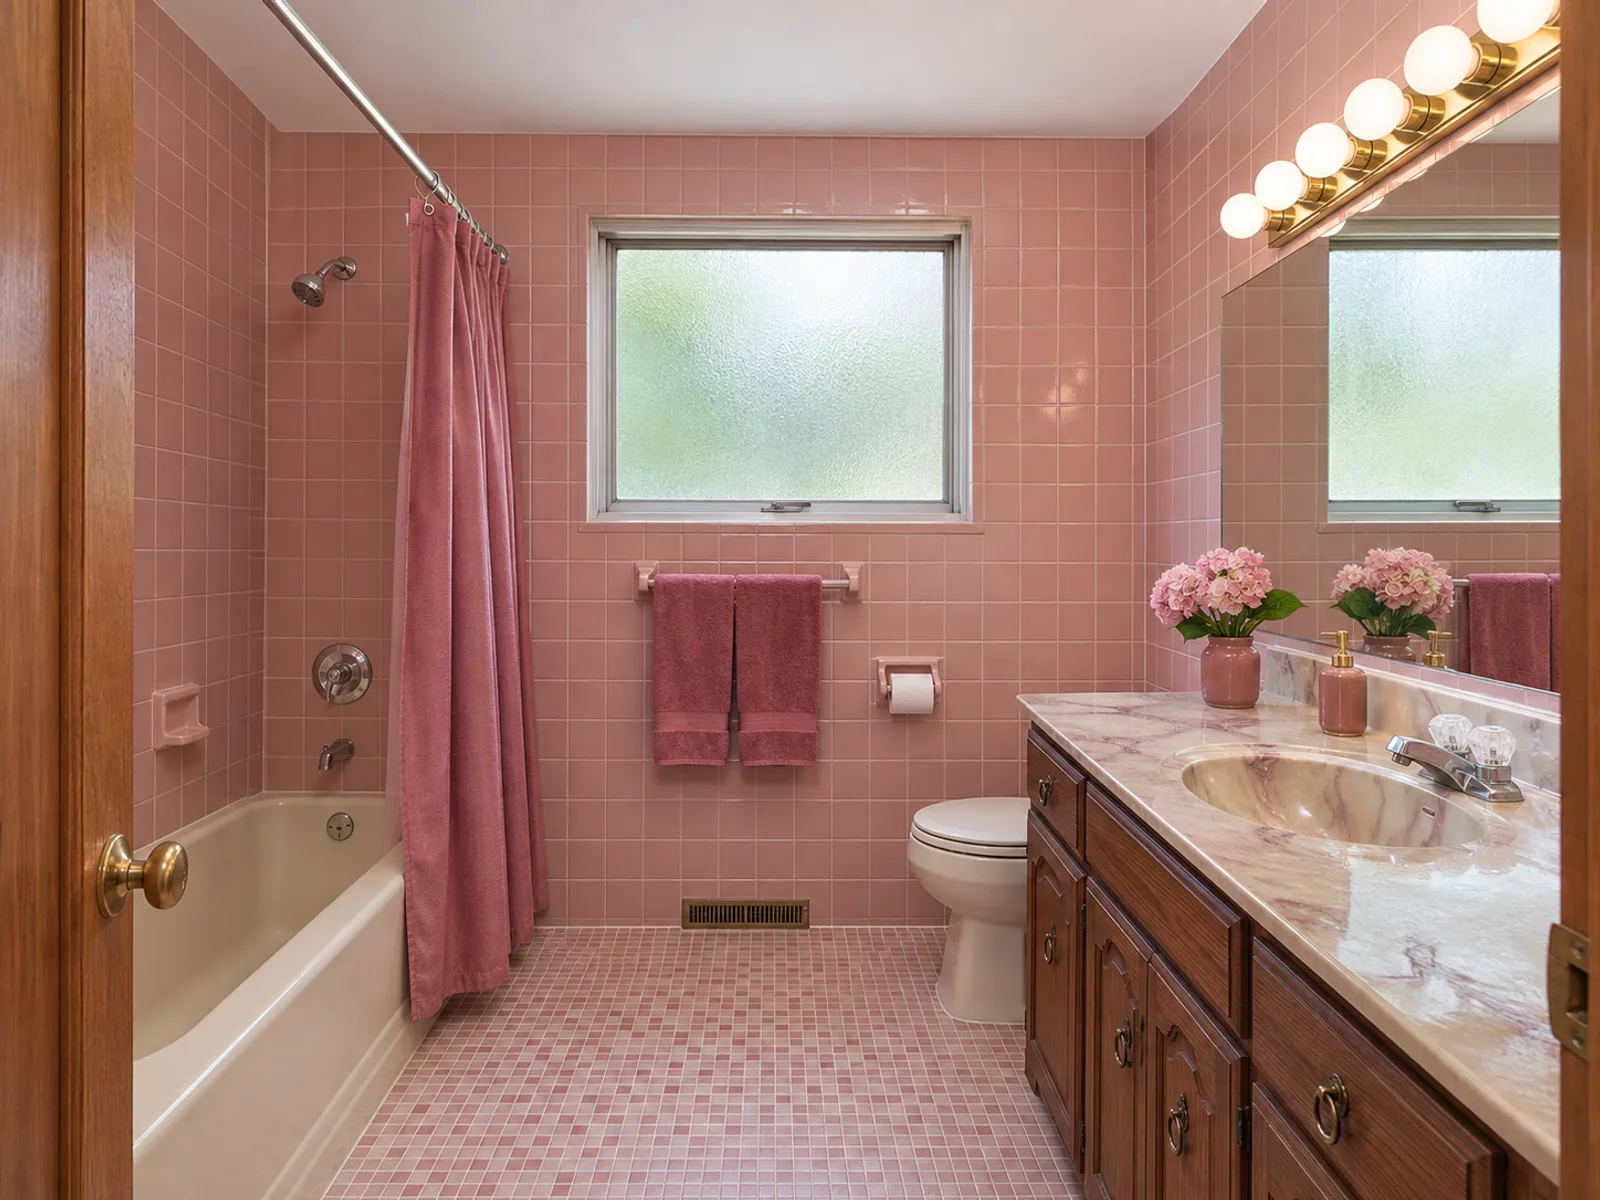
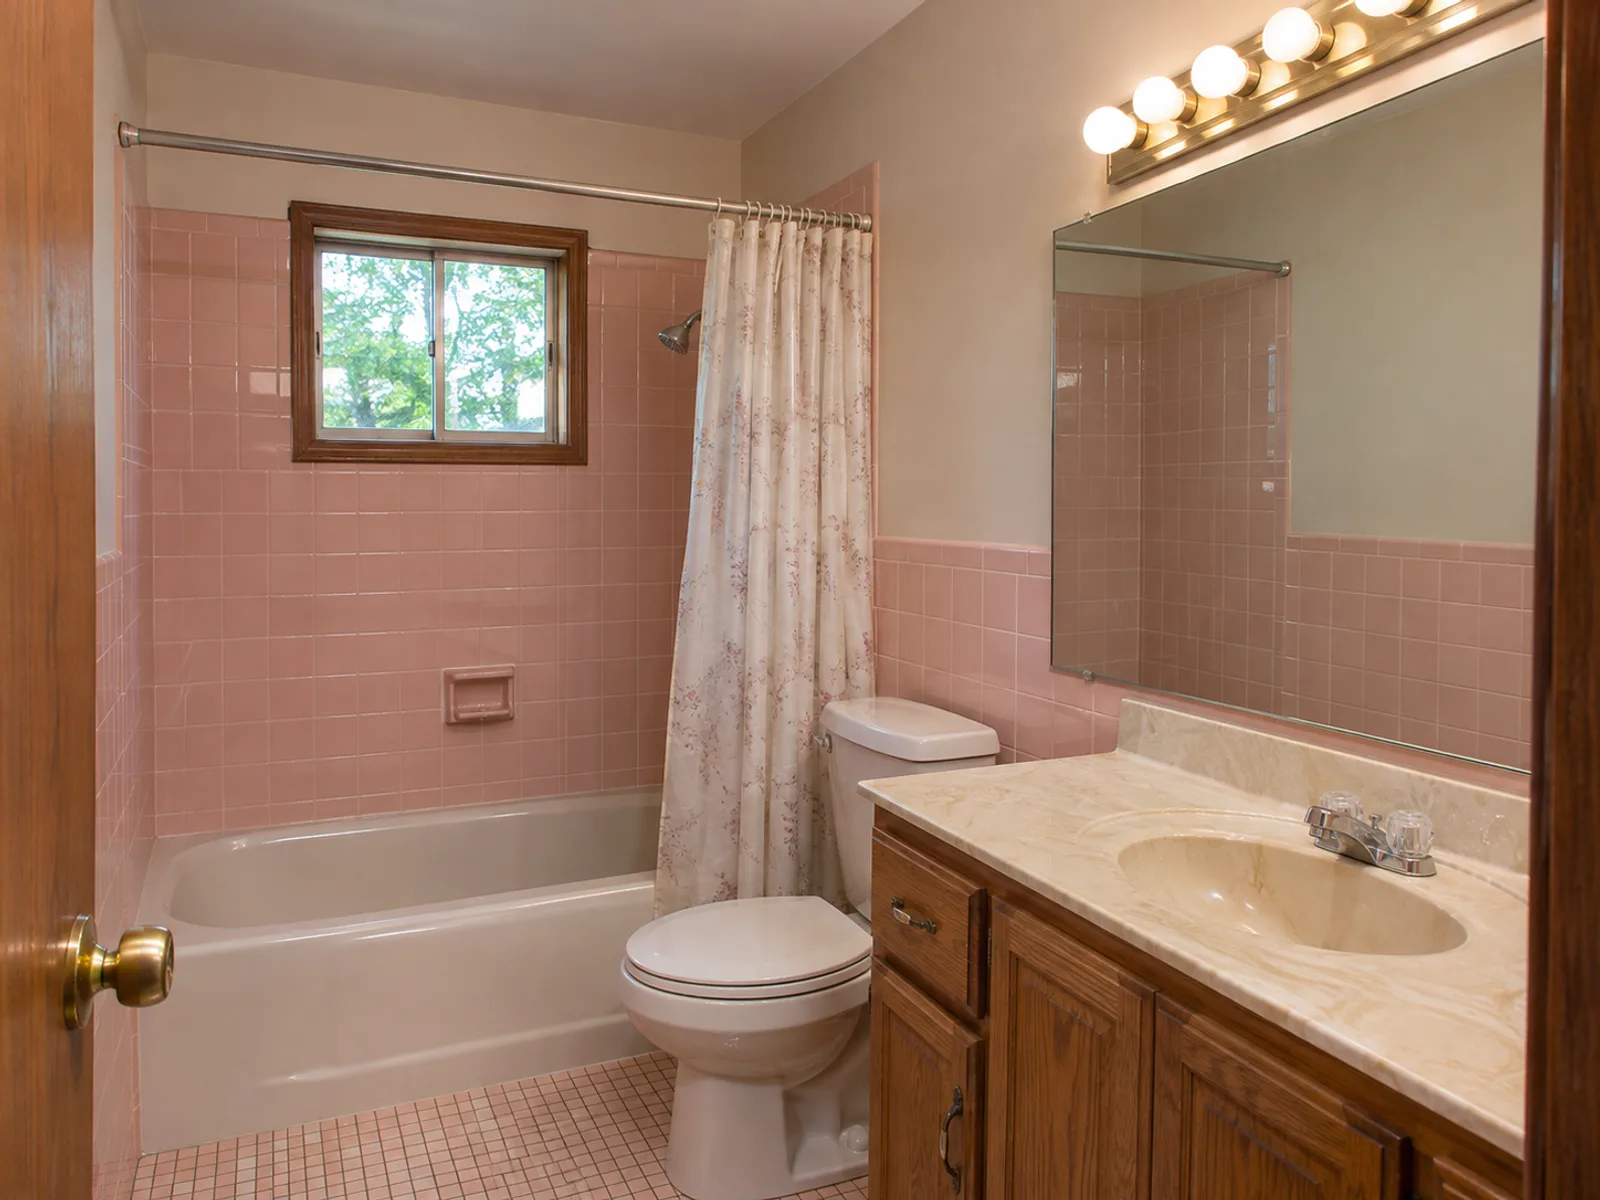
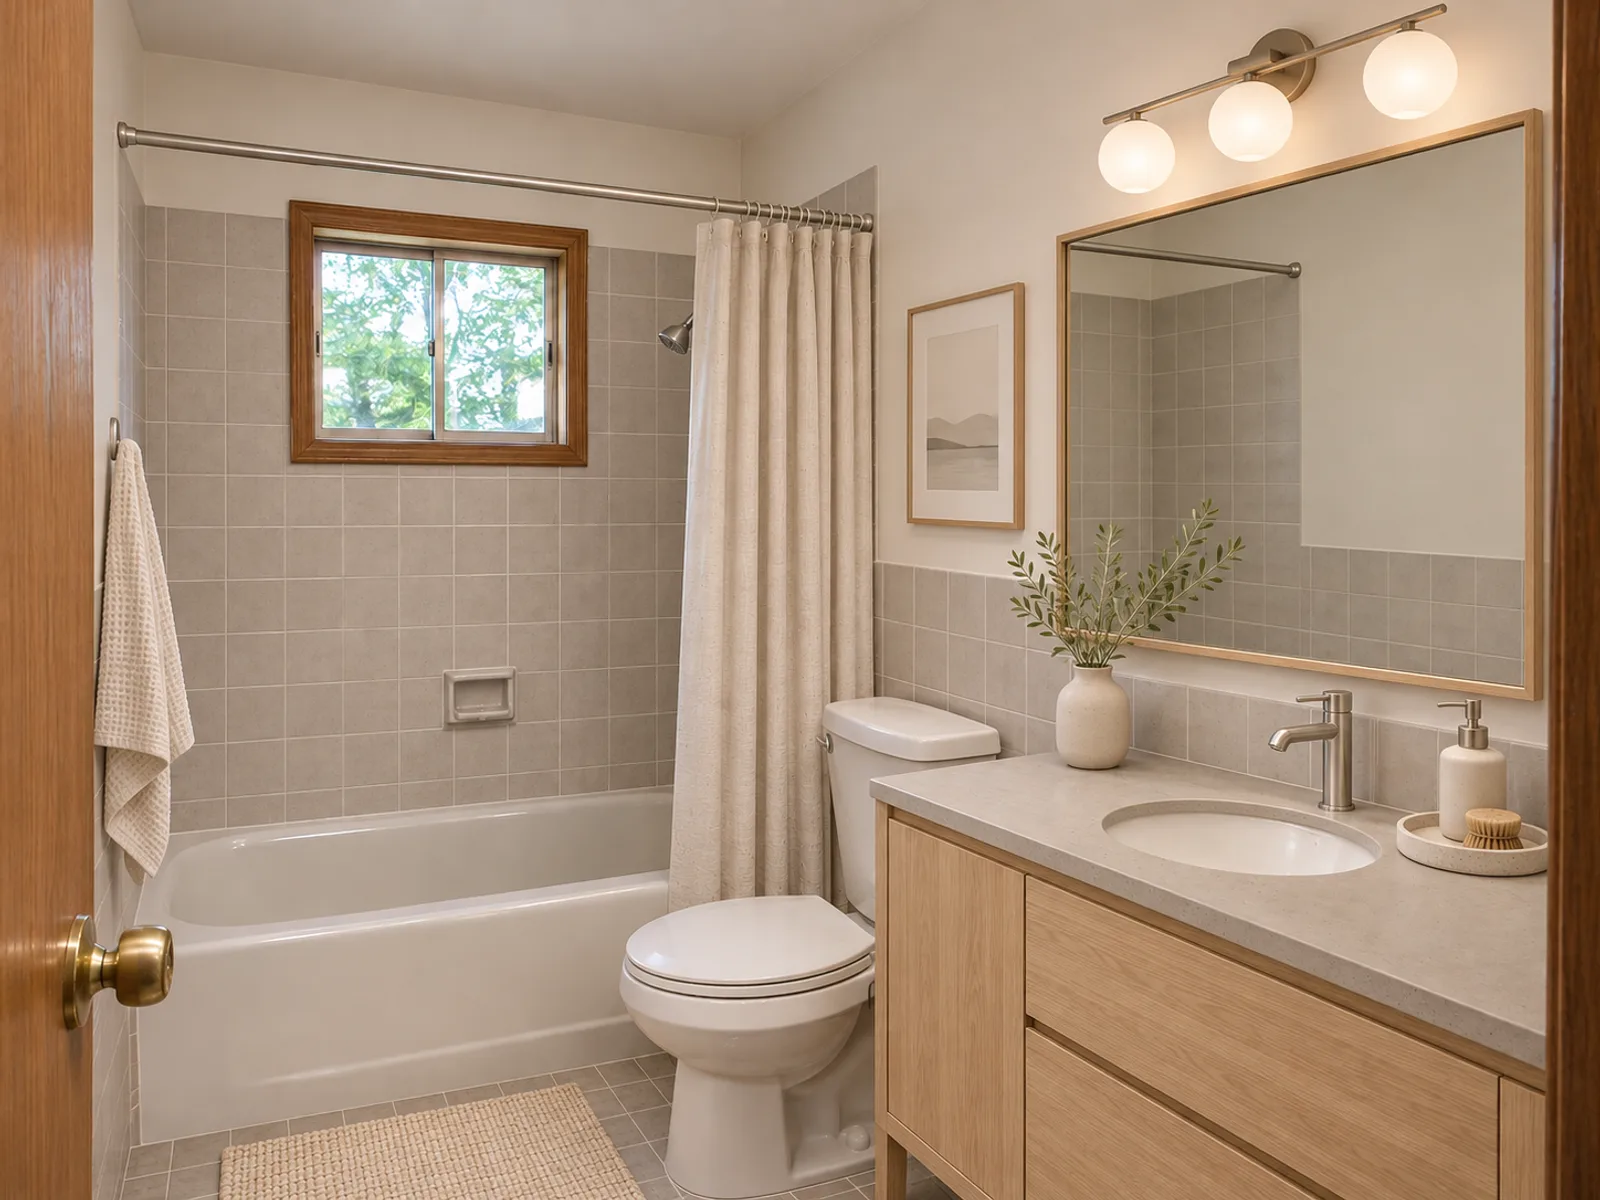
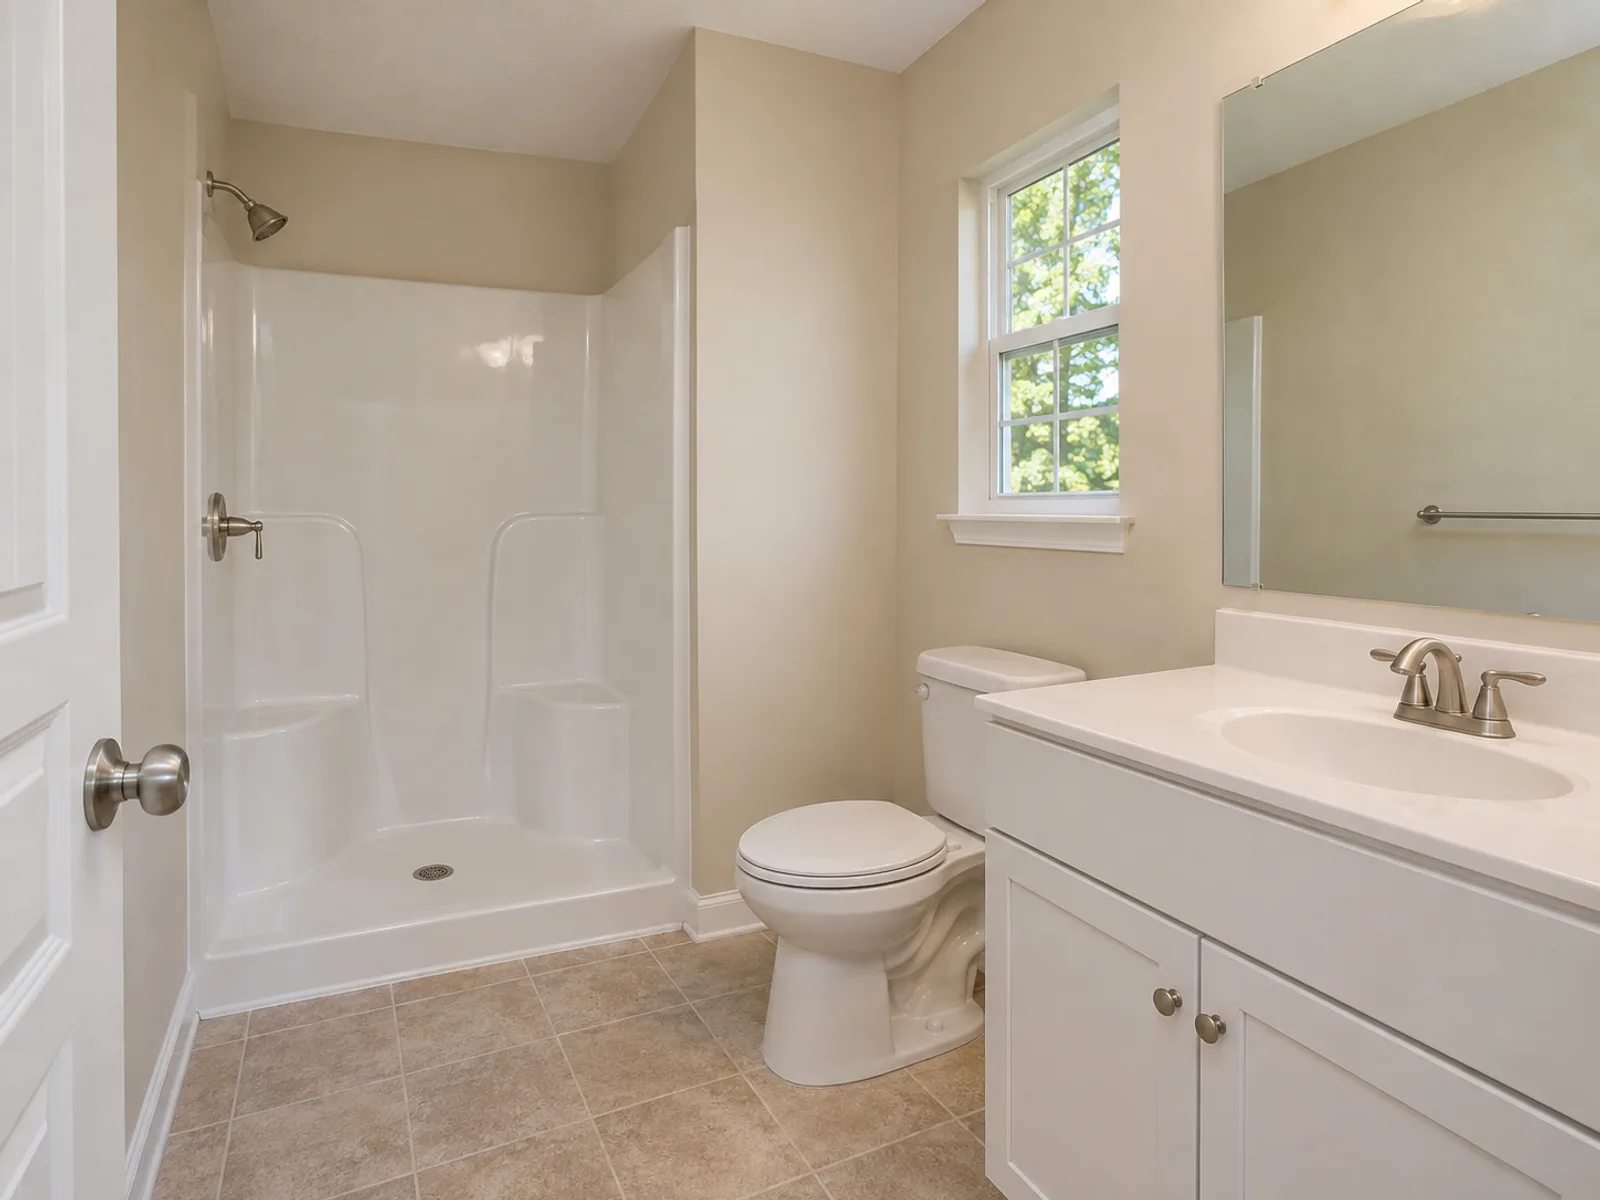
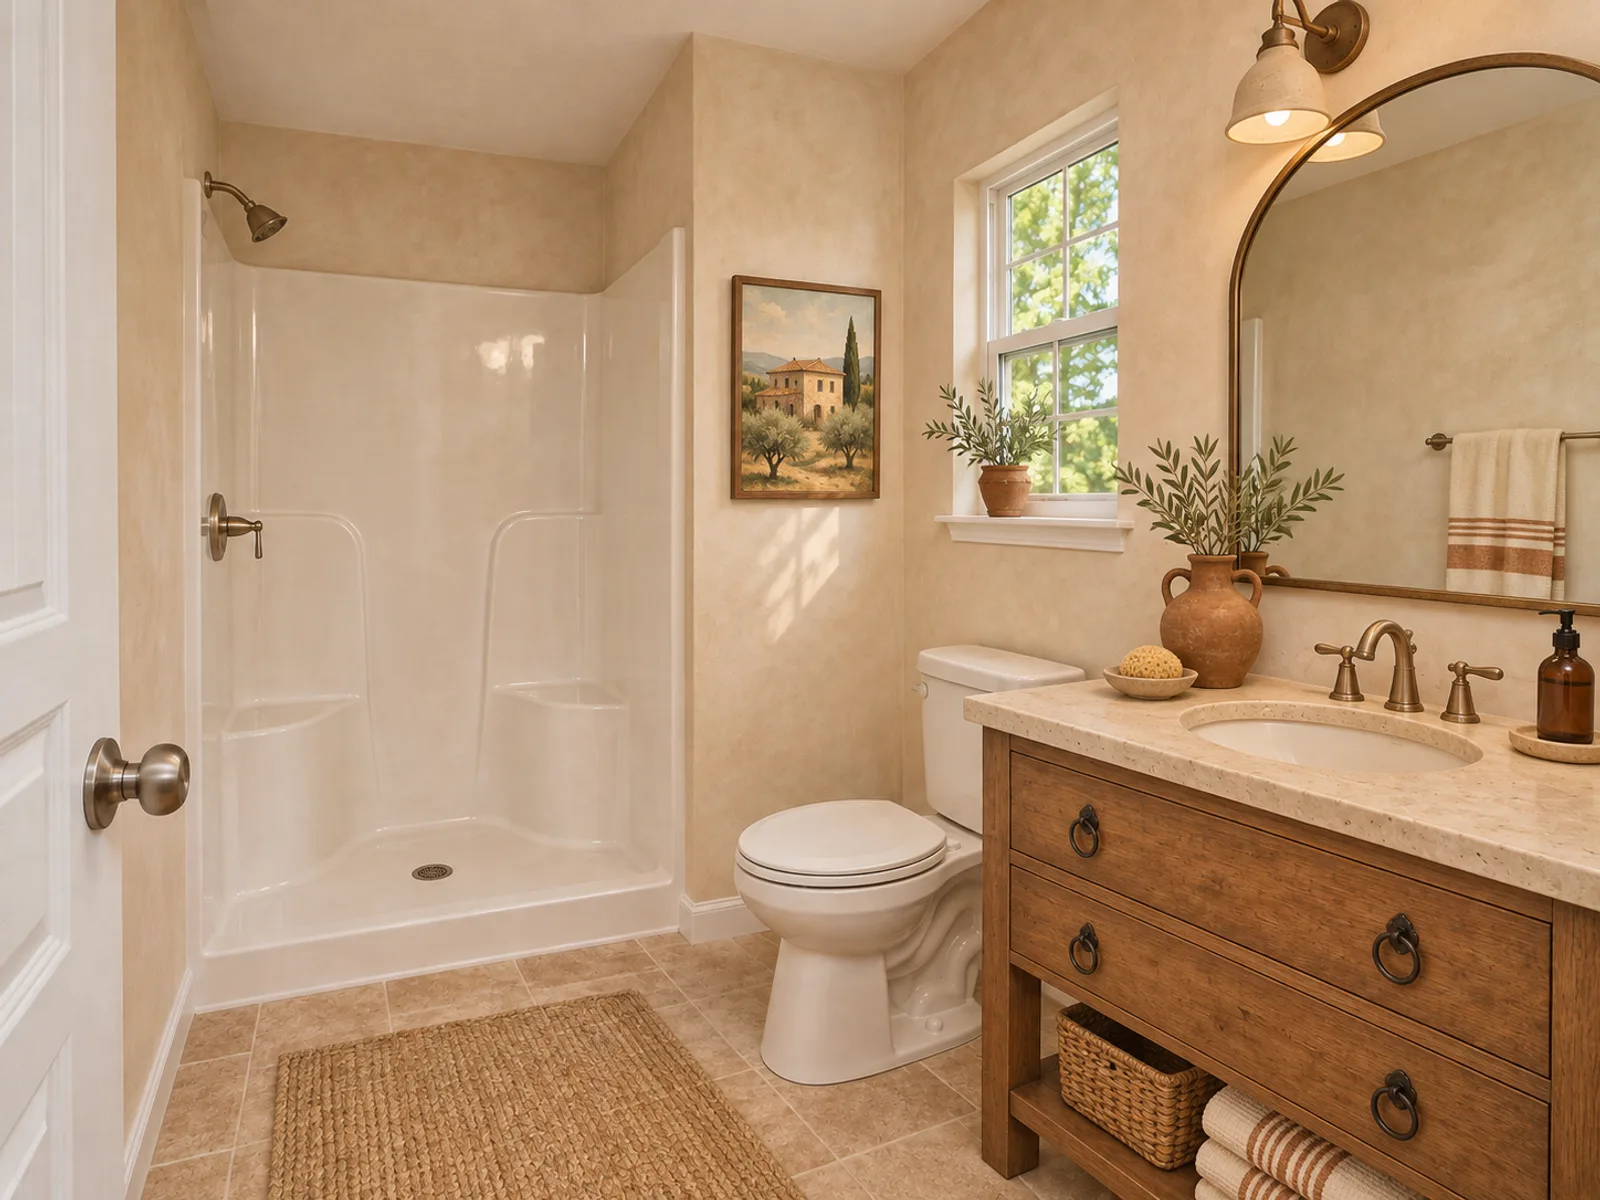
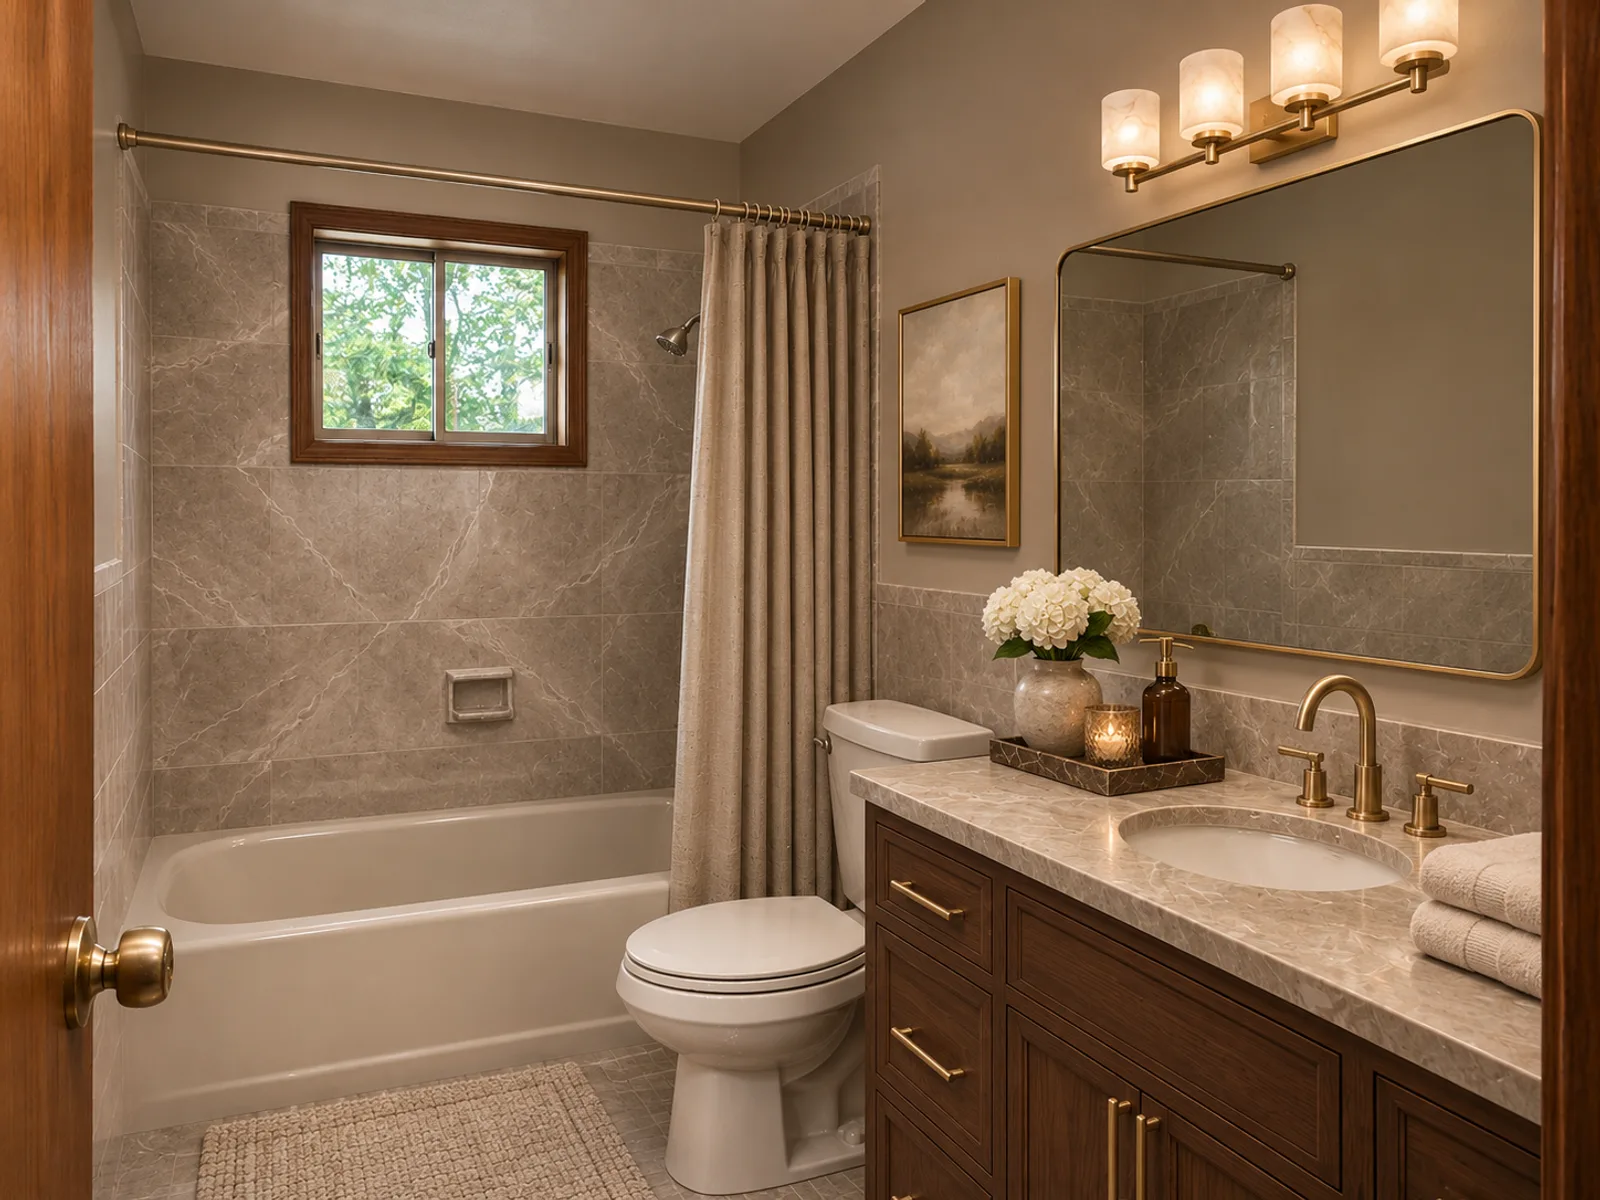
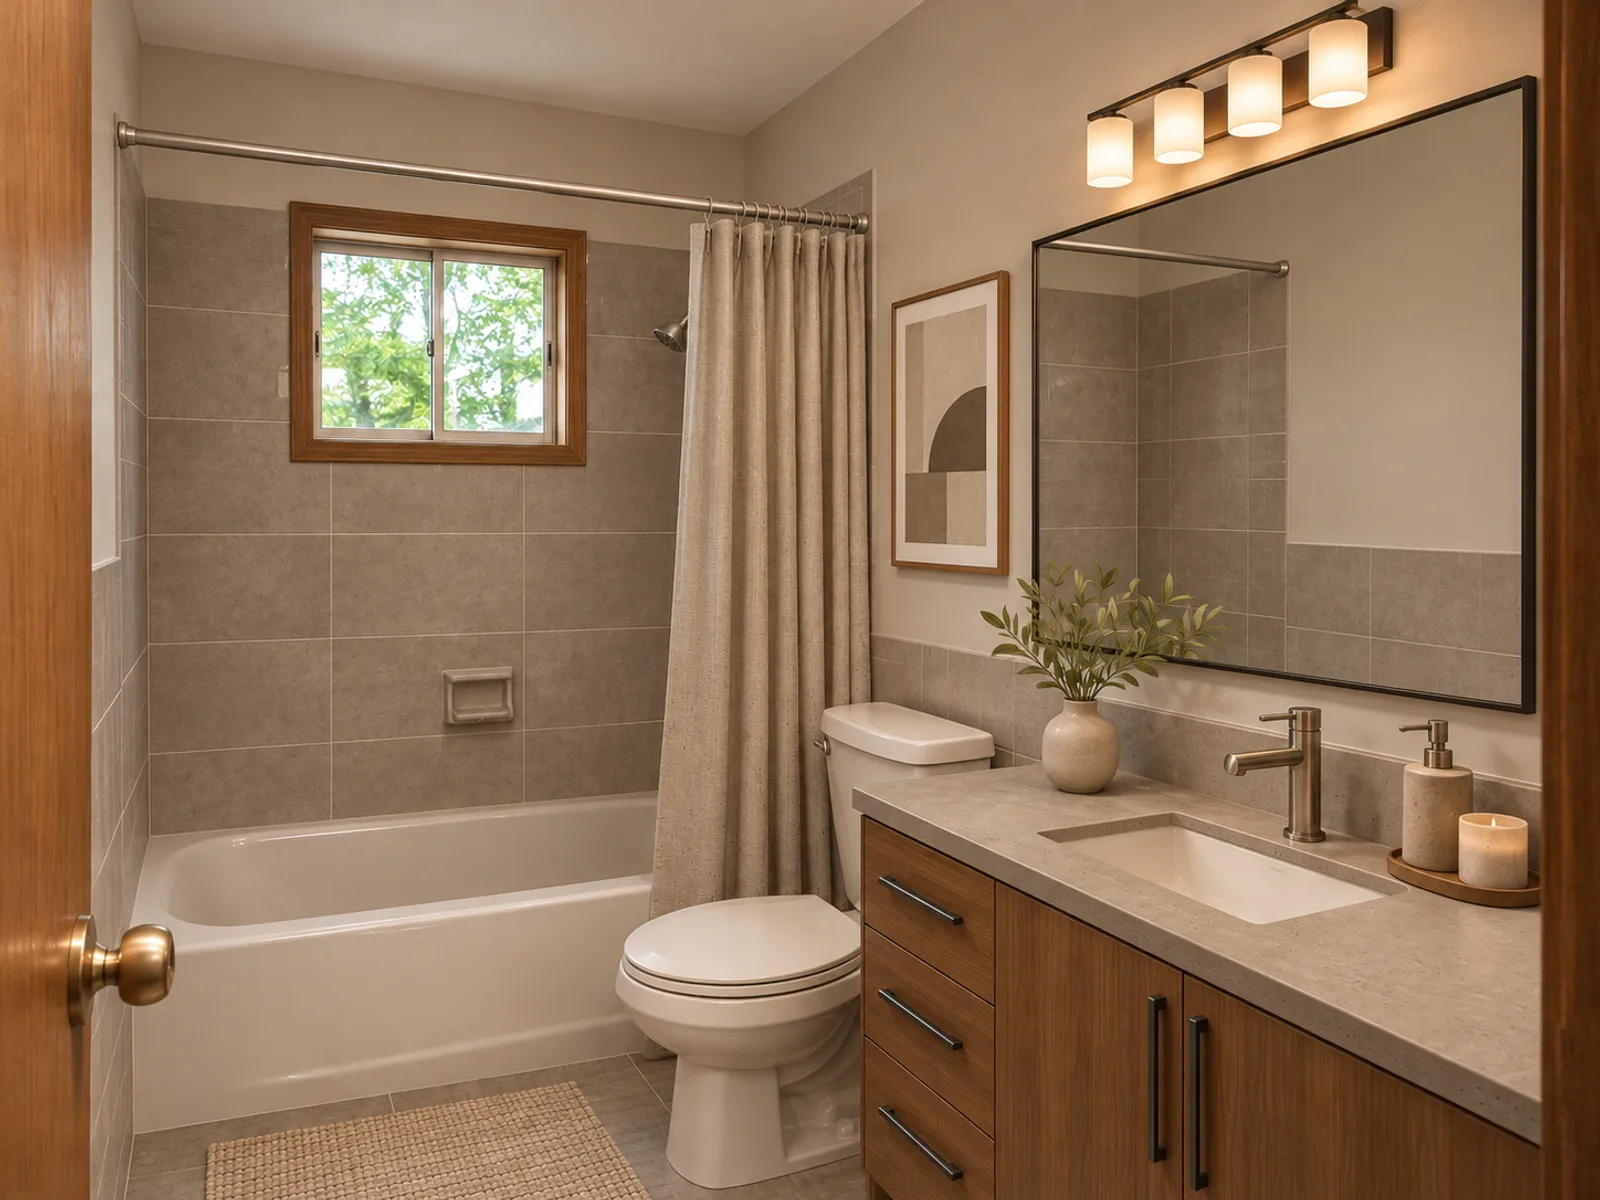
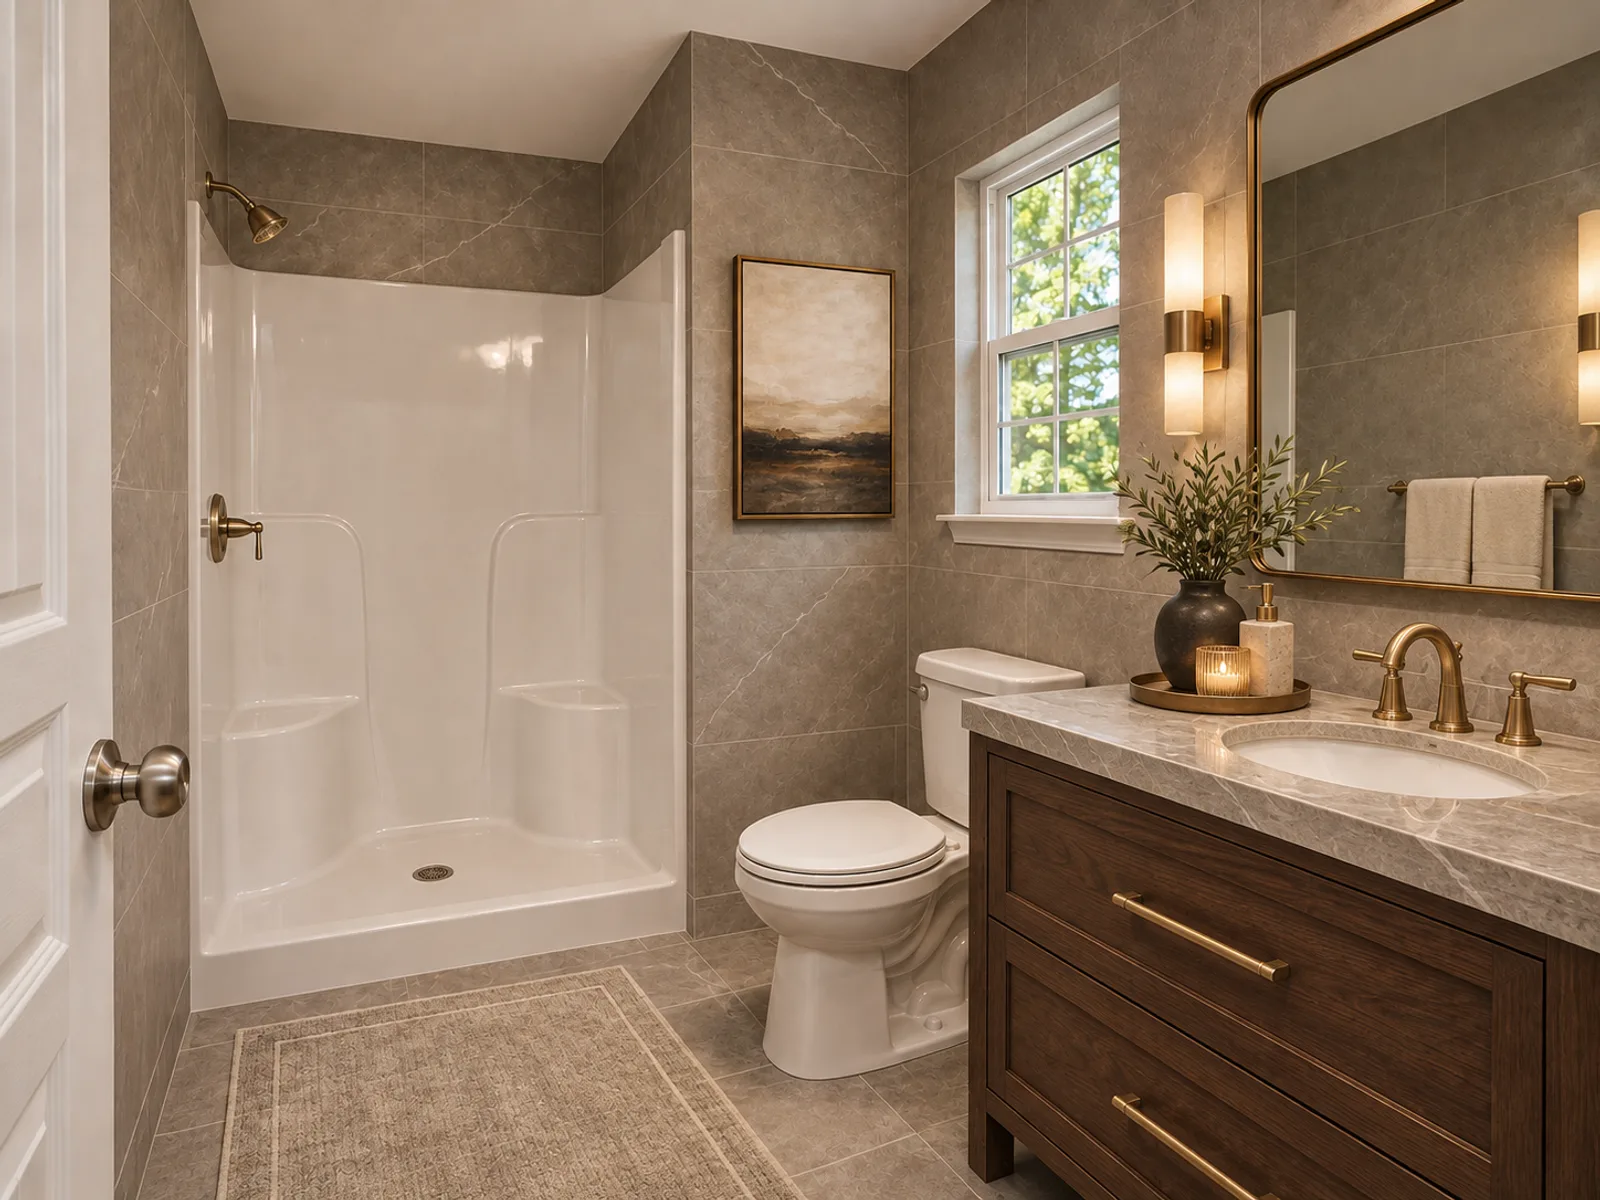
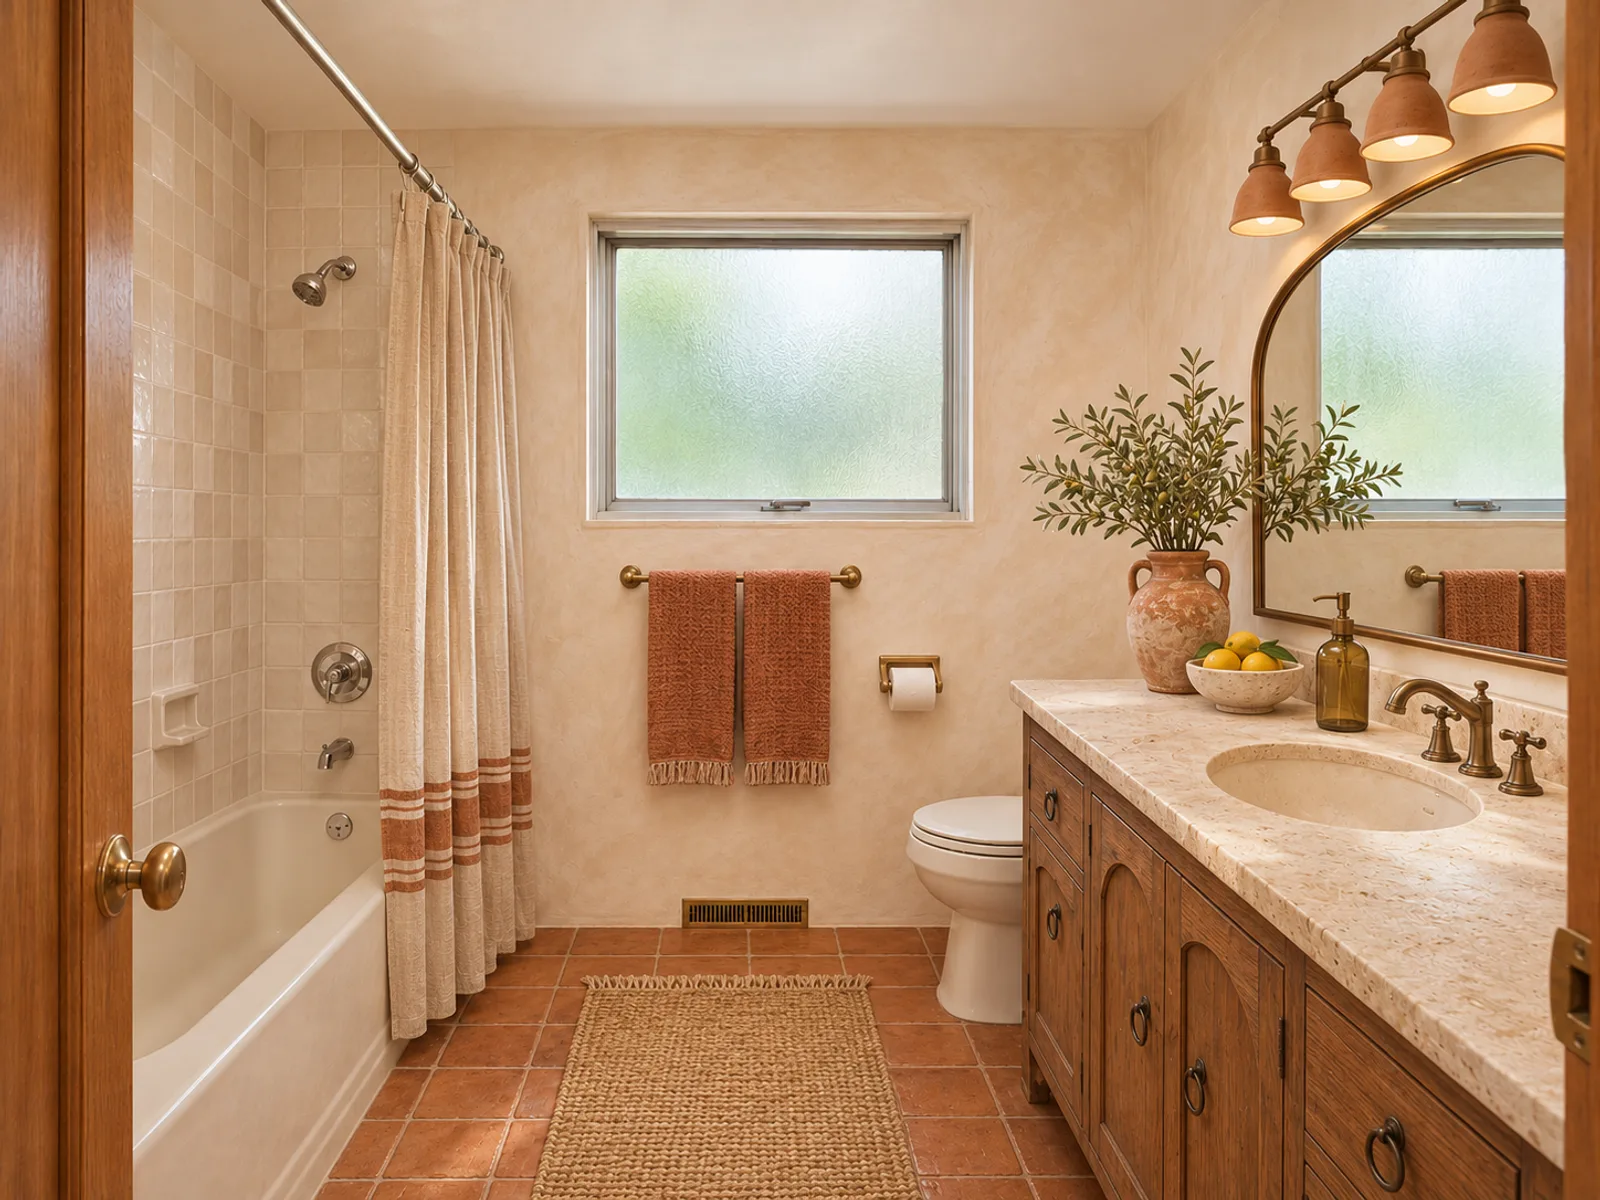
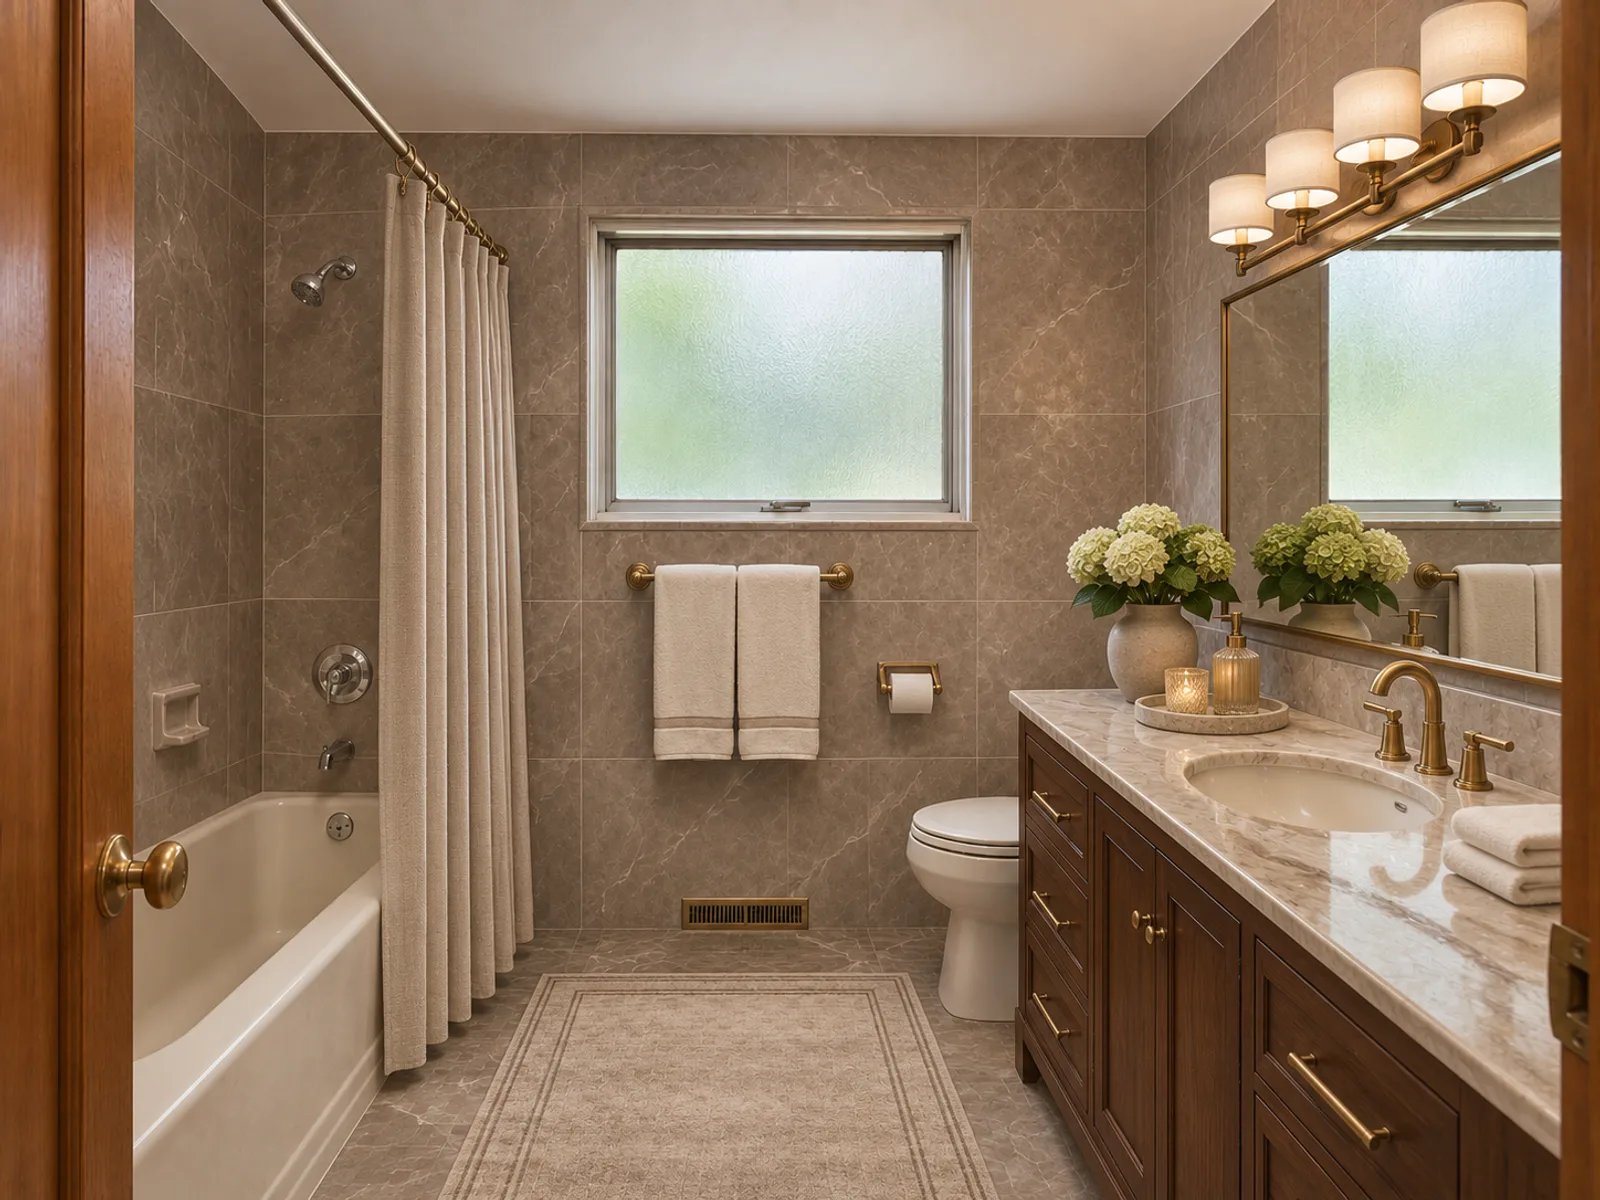
AI bathroom design turns a phone photo of your bathroom into realistic concepts in a new style. Tile, vanity and lighting all change, while the toilet, sink and shower or tub stay where they are in your photo.
Moving a drain or a toilet is often the costliest part of a bathroom remodel, so the renders show what new finishes and fixtures can do on your existing rough-in, the pipes already in the walls and floor.
What you get back is a concept image, not a set of plans. Walls, windows, doors and the camera angle match your photo, but details like tile size or vanity width can vary between versions.
Bathroom clearances and sizes
Two columns: the US residential code (IRC) minimum, and the roomier clearance NKBA guidelines suggest for daily comfort.
| Item | Code minimum (IRC) | Recommended (NKBA / typical) |
|---|---|---|
| Toilet centerline to side wall or fixture | 15 in (38 cm) | 18 in (46 cm) |
| Clear space in front of toilet | 21 in (53 cm) | 30 in (76 cm) |
| Clear space in front of sink or vanity | 21 in (53 cm) | 30 in (76 cm) |
| Shower interior size | 900 sq in (0.58 m²), fits a 30 in (76 cm) circle | 36 x 36 in (91 x 91 cm) or larger |
| Shower entry opening | 22 in (56 cm) clear width | 24–30 in (61–76 cm) |
| Clear space in front of shower entry | 24 in (61 cm) | 30 in (76 cm) |
| Sink centerline to side wall | — | 20 in (51 cm) |
| Two sinks, centerline to centerline | — | 36 in (91 cm) |
| Vanity height | — | 30–32 in (76–81 cm) standard, 34–36 in (86–91 cm) comfort height |
| Bathroom door | — | 32 in (81 cm) clear opening; 24 in (61 cm) is a floor for older homes |
Rules of thumb only. Local plumbing and building codes vary and override these figures; check them with your contractor or building department.
Using it as a bathroom remodel visualizer
Tile and vanity choices are hard to undo. Try two styles on your bathroom photo, refine your favorite with notes about grout color, faucet finish or lighting, and share it with your tile installer as a visual reference.
Free credits for your first bathroom ideas
Every new account gets free credits, so you can render your own bathroom at no cost before buying anything. Setting up the photo, style and notes works without an account; you sign in when you hit Generate.
After the free credits, you can choose a monthly or yearly plan or a one-time pack. Credits spent on a run that fails are refunded to you automatically.
Photo tips for small, tight bathrooms
Bathrooms are tight spaces, so these photo tips help get a clear angle.
Stand in the door frame
Back yourself into the doorway, or even just outside it, and hold the phone at chest height. That angle usually shows the vanity, toilet and shower in one frame.
Use the wide lens
Switch to 0.5x and keep the phone level so tile lines stay straight.
Close the lid and clear the clutter
Put the toilet lid down and remove towels, shampoo, toothbrushes and bath mats so the new surfaces come out clean.
Open the shower curtain or door
Pull back any curtain so the tool can see the tub or shower it is redesigning.
Add light without flash
Turn on the vanity light and the ceiling fixture. Flash bounces off mirrors and glass and leaves bright spots the render may copy.